

Agent types
Build your first Agent
Open the Agents page
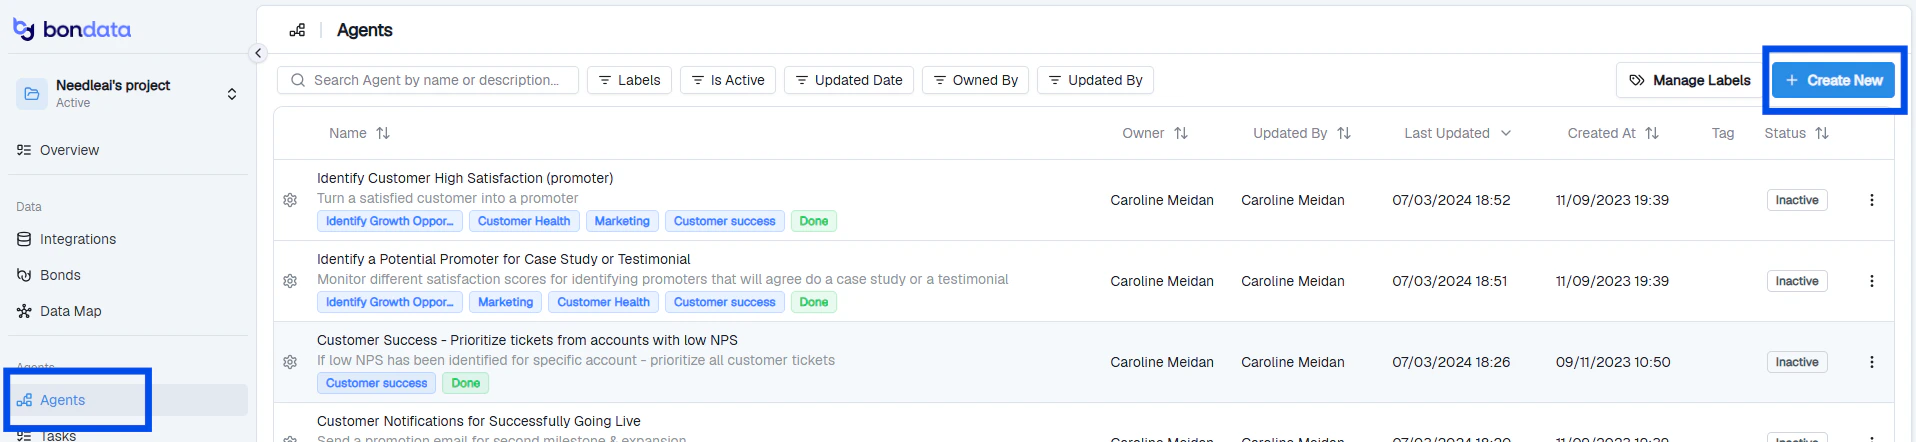
The Agents list with the Create New button
Name your Agent
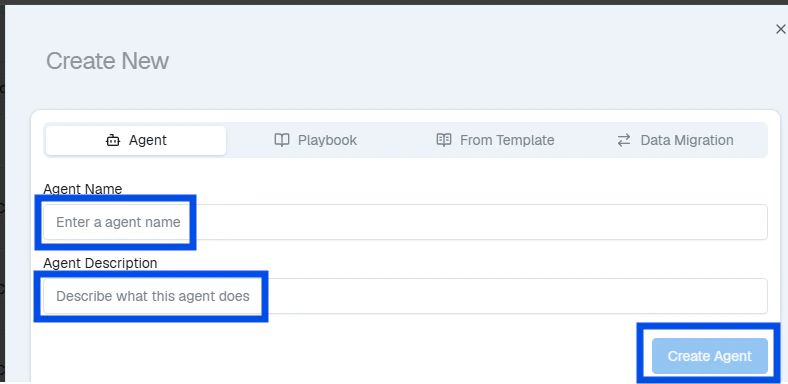
Naming a new Agent
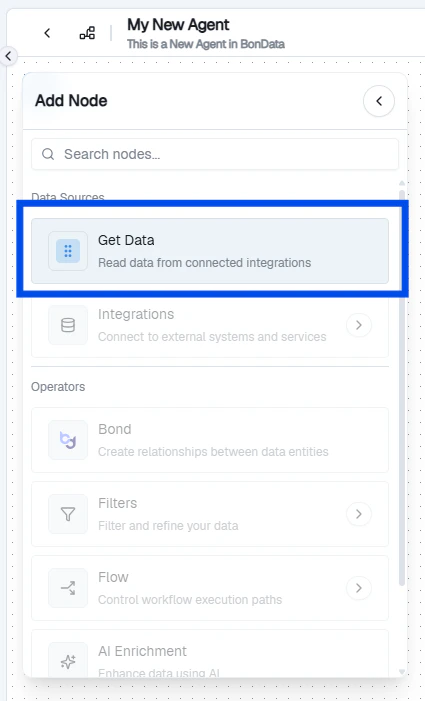
Add a Get Data node

Adding the first Get Data node
Selecting the entity and fields
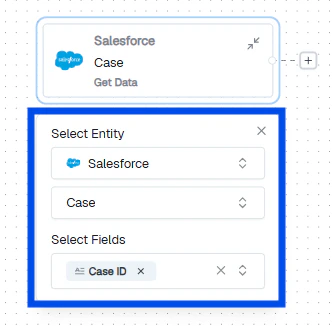
Configured Get Data node
Add a filter
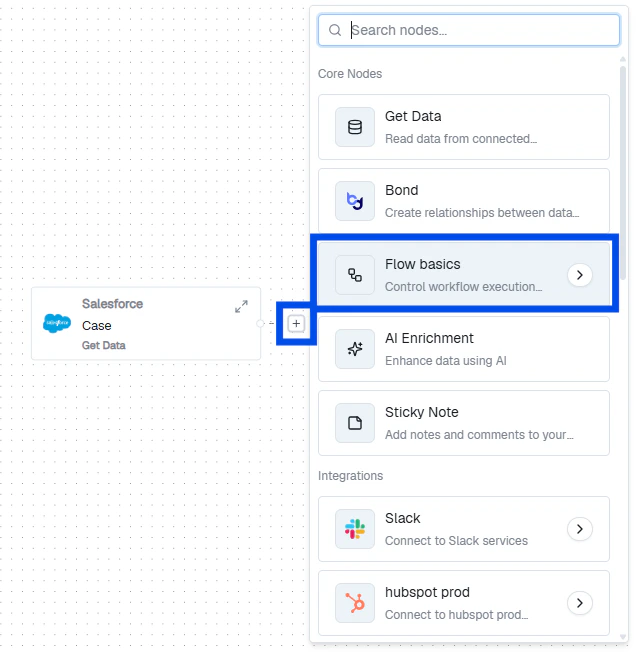
Adding a Simple Filter node
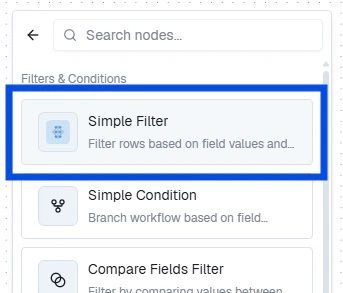
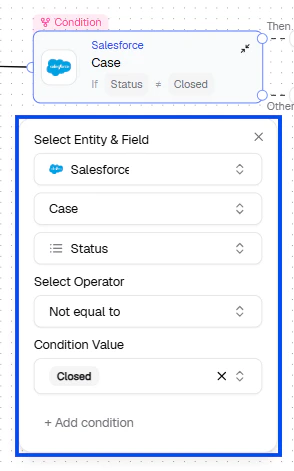
Configuring filter conditions
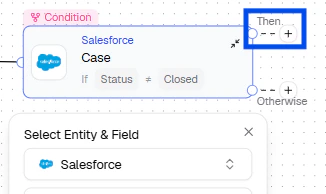
- AND - Add another Simple Filter from the Then + option
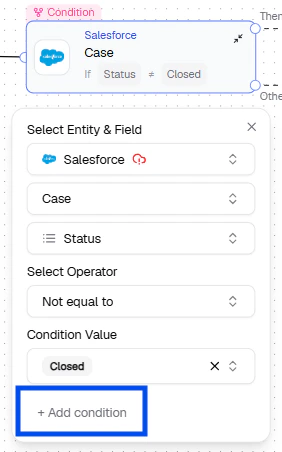
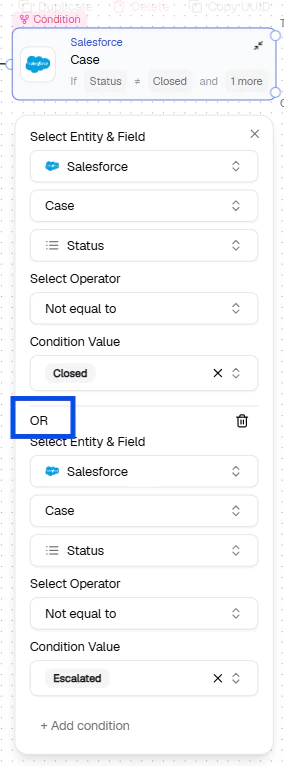
- OR - Add a condition to the existing node from + Add condition
AND logic: chaining multiple filter nodes
OR logic: multiple conditions in one node
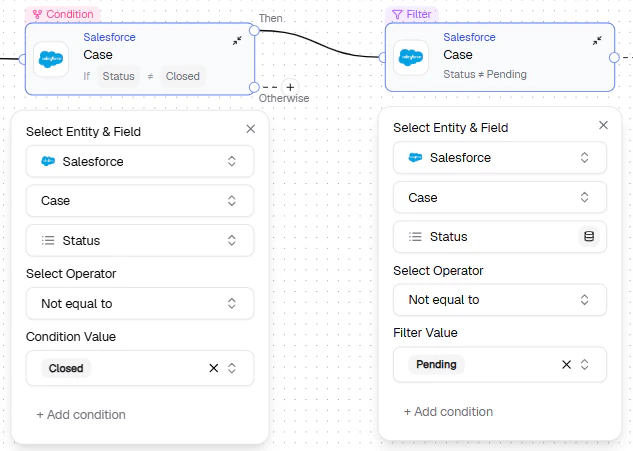
Combined filter view
Set actions
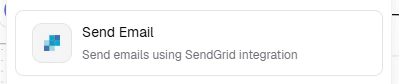
Selecting an action type
Configuring the action details
- Create or update records
- Send Slack or email alerts
- Generate a CSV
- Send an HTTP request
Map fields with Mentions

Using Mentions to map fields between systems

Selecting a source field for the mention

Mention inserted into the action configuration
- Conditional Mentions - Apply transformations (e.g., if value is 1 → “Yes”, else → “No”)
- Default values - Fallback when the source field is empty
Conditional mention configuration
Setting default values for empty fields
Complete mention with conditional logic
Choose execution mode

Execution mode selection
- Automatic - tasks run immediately
- Manual - tasks queue for your approval
Test before going live
Click Test (top right) to simulate the Agent without performing any actions. Task previews appear in the right panel.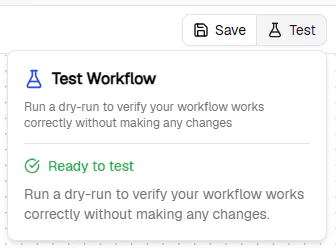
Test mode showing task previews

Test results in the task panel
Activate your Agent
Click Active in the top right
Activating the Agent
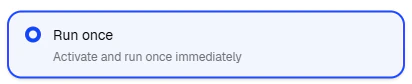
Choose the run mode
- Run once - executes a single time
- Schedule - runs on a recurring frequency (e.g., every 15 minutes, or a custom cron expression)
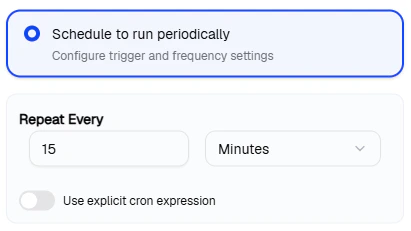
Schedule configuration
Configure task duplication
- Off (default) - won’t create duplicate tasks for the same matched record
- On - creates new tasks every run regardless
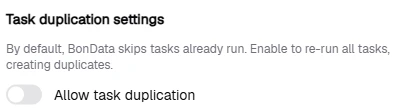
Task duplication settings
Apply
Monitor your Agent
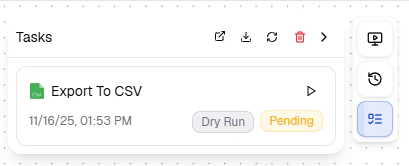
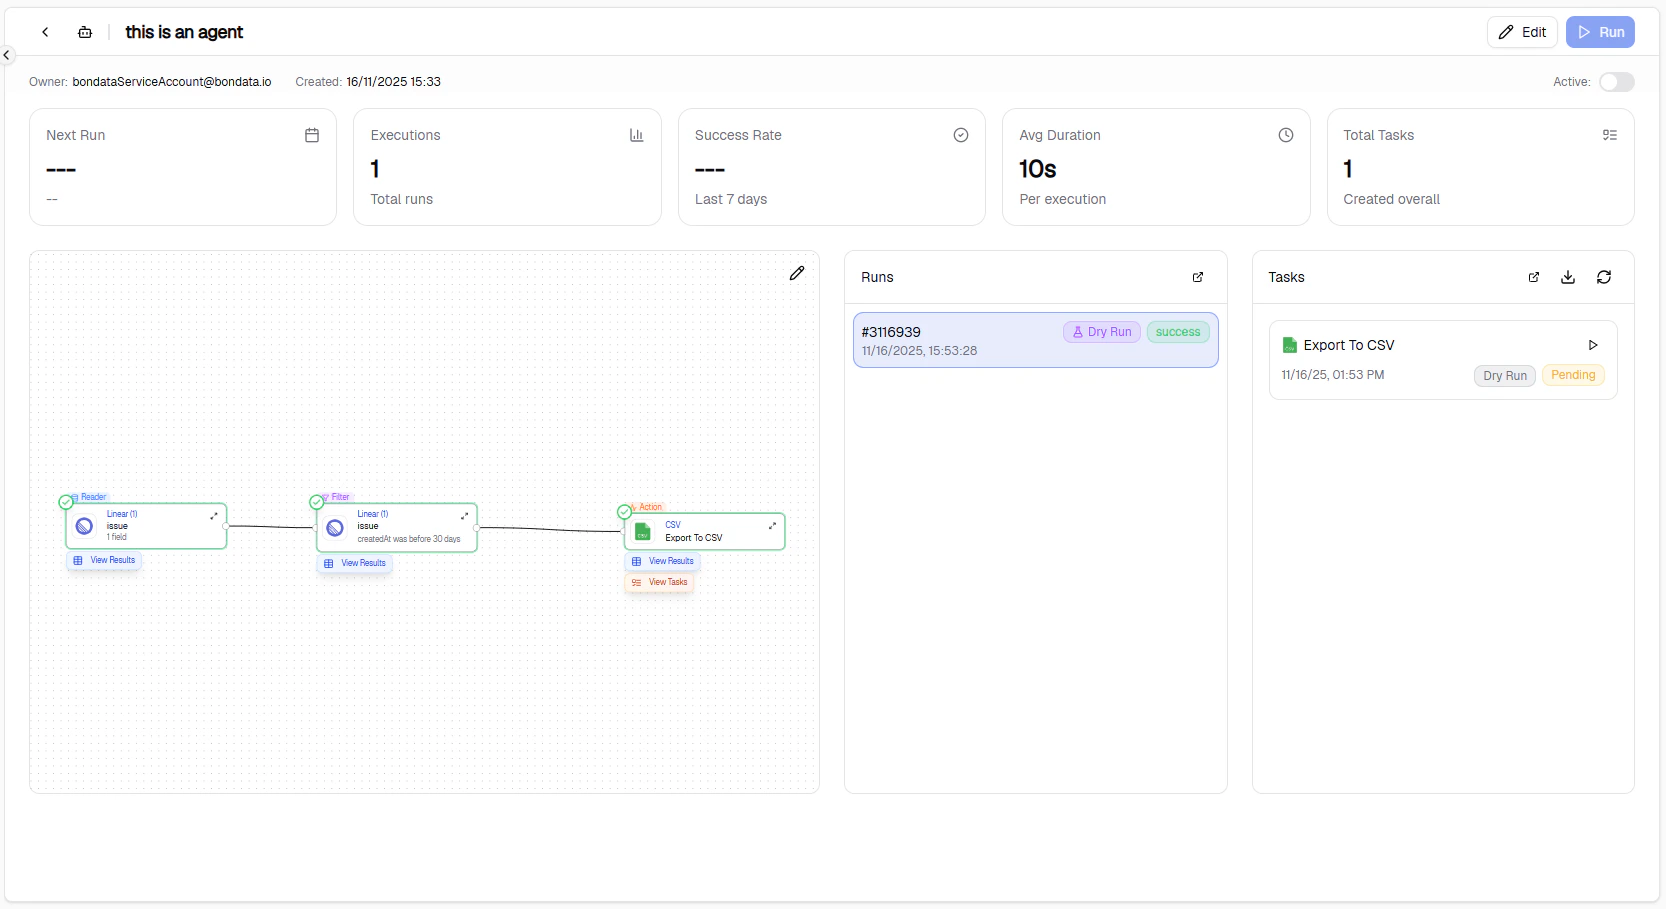
Agent dashboard showing task statuses
- Task list - right panel shows upcoming and completed tasks
- Agent Dashboard - access via the three-dots menu next to Activate
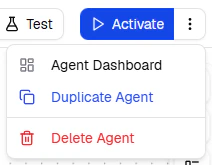
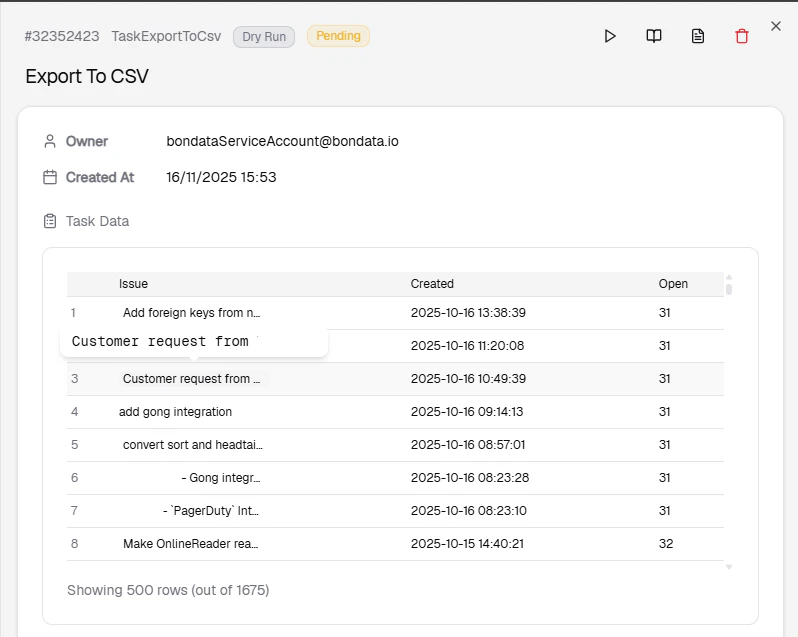
Task detail view
Detailed task execution results
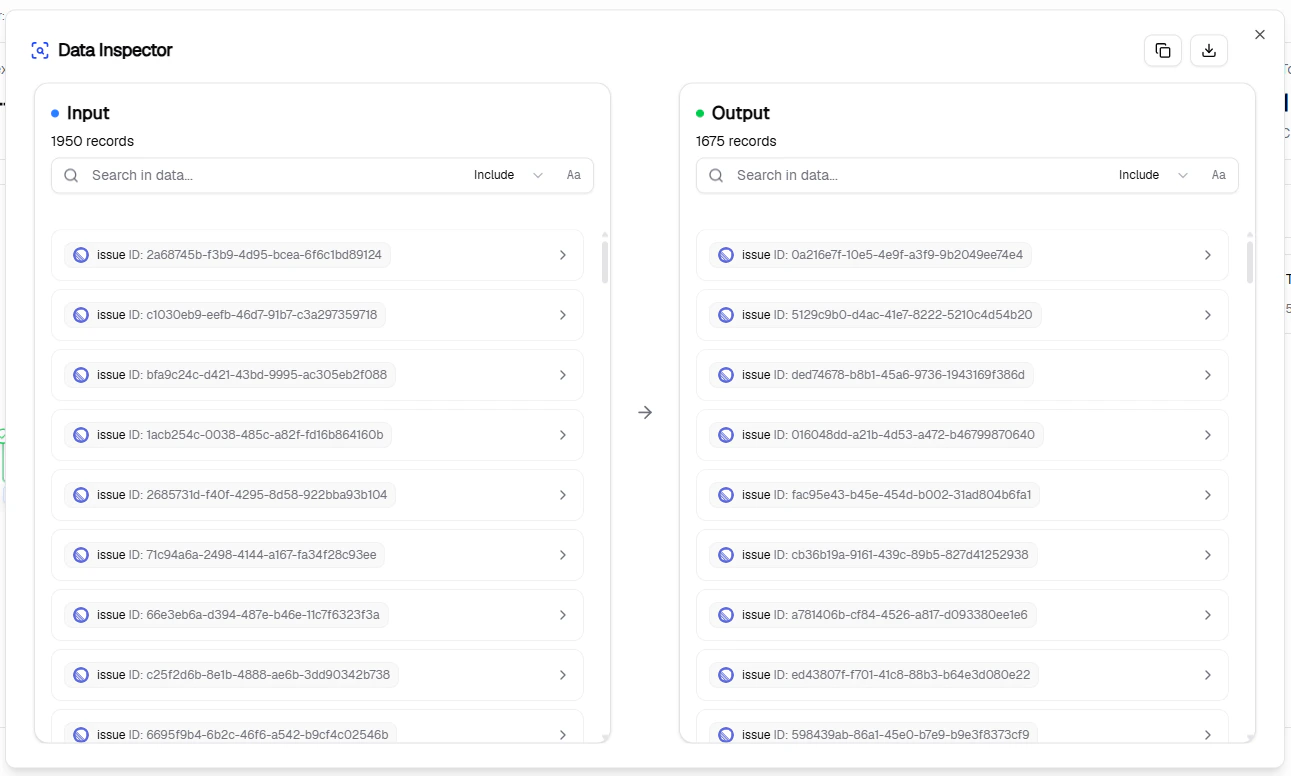
Node-level results view
Complete Agent execution overview