Add data sources to BonData and configure entities
BonData connects to 100+ systems - CRMs, databases, warehouses, project management tools, support platforms, spreadsheets, and more. No custom integration code required.
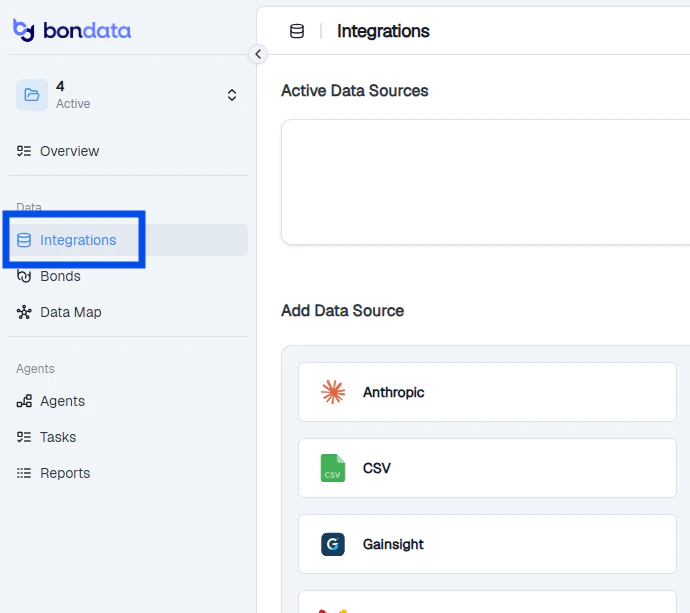
The Integrations page showing active data sources and available connectors
2
Select an integration
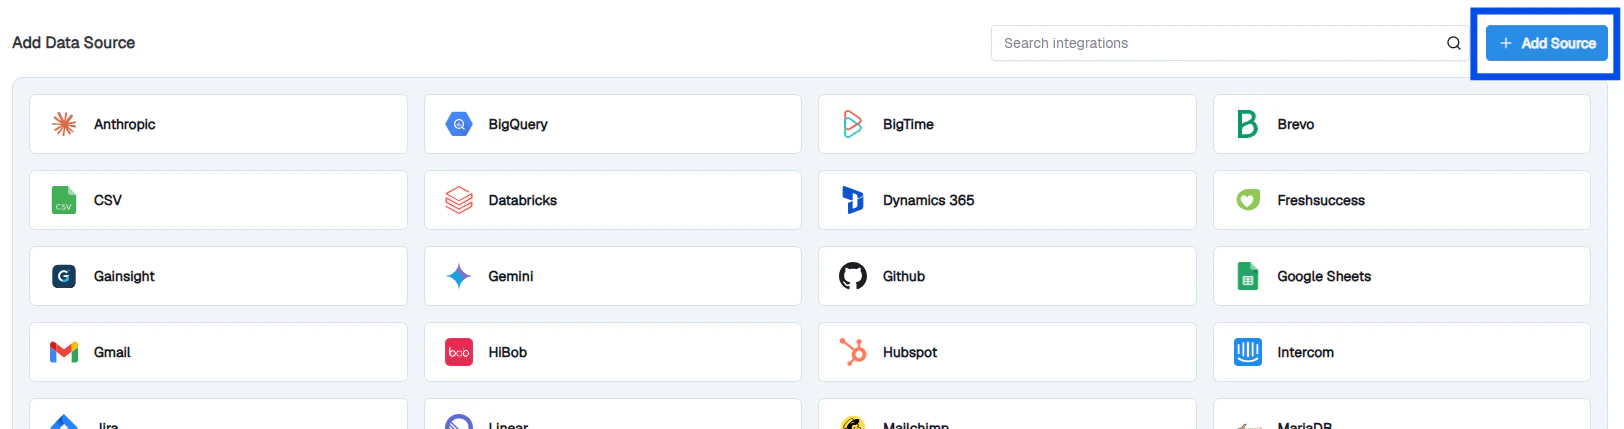
Under Add Data Source, find and click the integration you want. Use the search bar to filter.
Search and select a data source to connect
3
Authenticate
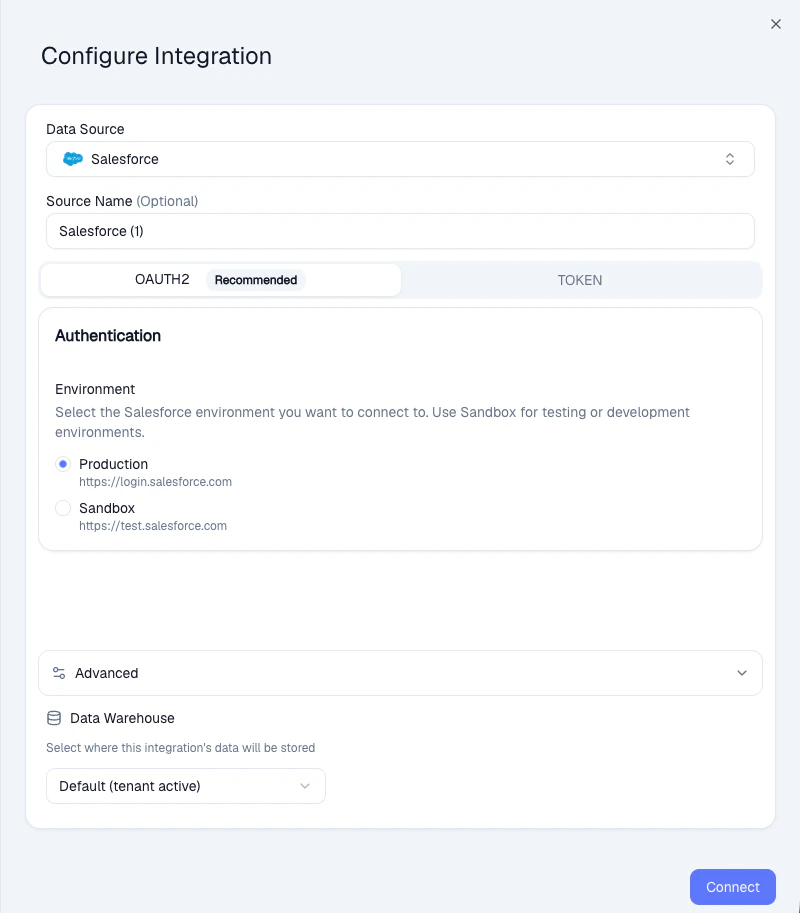
Follow the on-screen instructions. Most integrations support OAuth or API key authentication.Use credentials with the right level of access:
Read-only - sufficient for monitoring and reporting
Read/write - required if you plan to create or update records via Agents
4
Choose a data warehouse (optional)
Expand the Advanced section at the bottom of the configuration dialog. Under Data Warehouse, select where this integration’s data should be stored.By default, data goes to Bondata Cloud - the built-in warehouse included with your account. If your organization has connected external warehouses (PostgreSQL or Snowflake), they’ll appear here as well.
Selecting a data warehouse in the Advanced section
You can connect the same system multiple times - for example, separate Salesforce sandbox and production environments, or multiple Snowflake connections with different permissions.
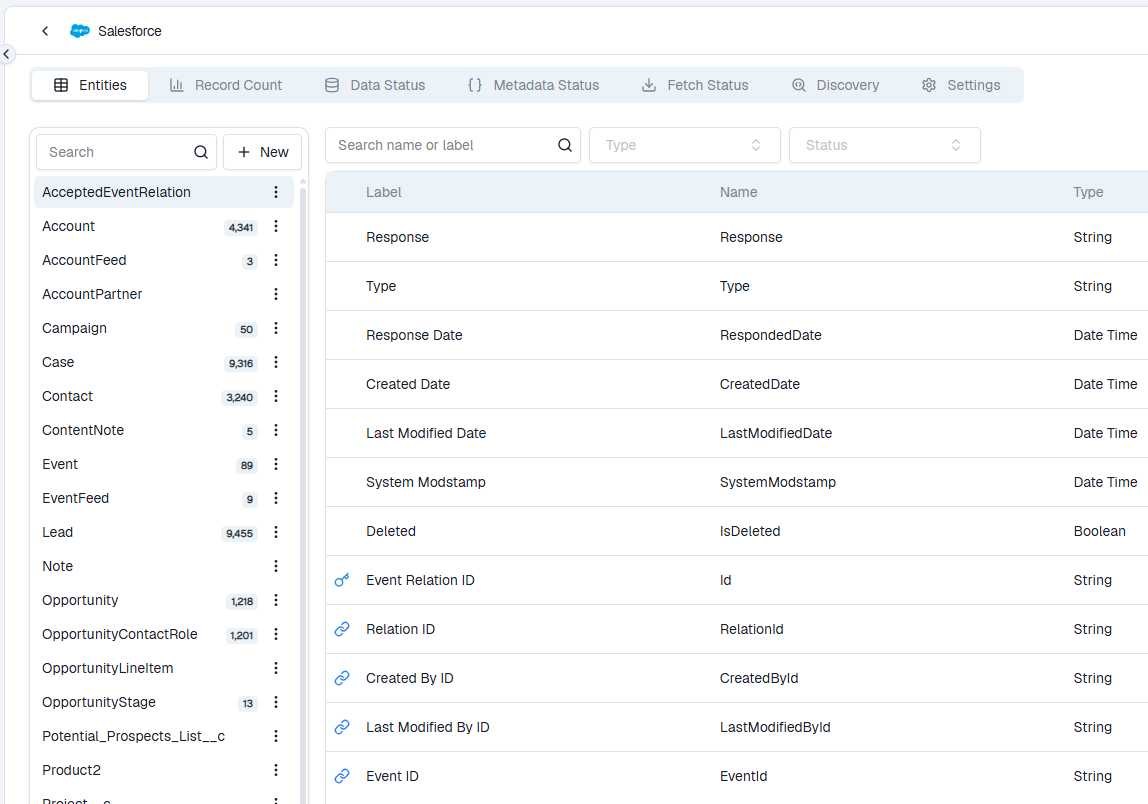
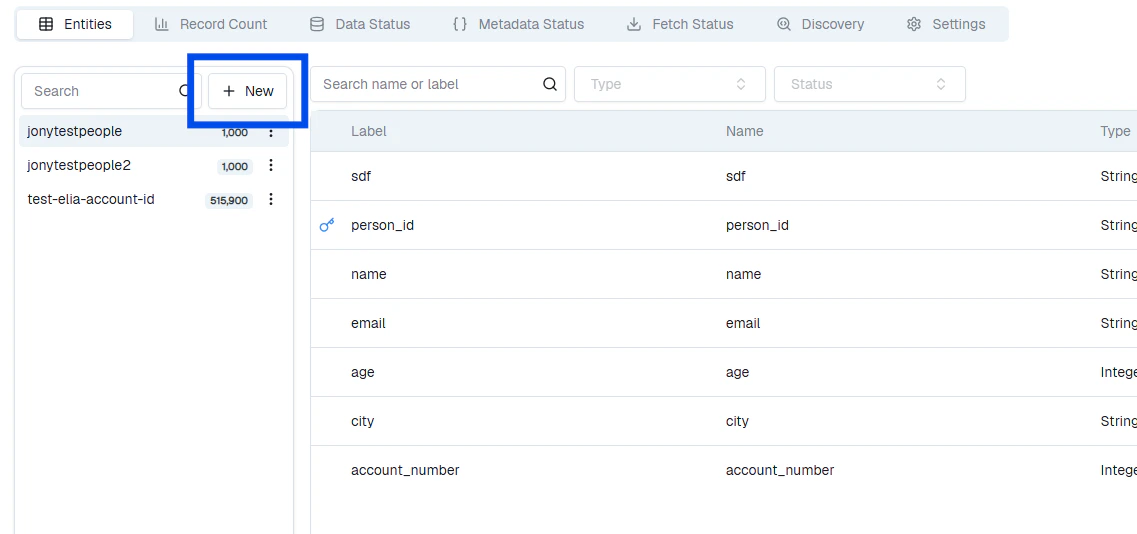
Click New to browse tables, upload CSV files, or provide a Google Sheets / SharePoint link.Each entity needs a primary key. BonData auto-detects fields that are both present in all rows and unique. You can also combine multiple fields into a composite key (e.g., First Name + Last Name + Company).